Some recipes don’t need reinventing.
They just need to be remembered.
These roast beef sandwiches were a staple growing up—just a good piece of beef simmered slowly until it practically fell apart, soaking up a savory, familiar broth.
My grandma made these often, and like so many of her meals, they were simple, dependable, and deeply satisfying. You knew exactly what dinner was going to taste like, and that was part of the magic.
This recipe matters to me because it’s tied to that feeling—the steadiness of being cared for, of watching someone cook with confidence and love. Gram was a wonderful cook. She made food to nourish and to gather people, and it made home feel safe and full. Making this now feels like a quiet way of keeping her close and honoring the way she showed love—through meals that brought everyone to the table.
She usually made this recipe in her Dutch oven—seared on the stovetop, then finished low and slow in the oven or on the stove. I love making this, and so many of her recipes, in my own Dutch oven that she bought me for my wedding.
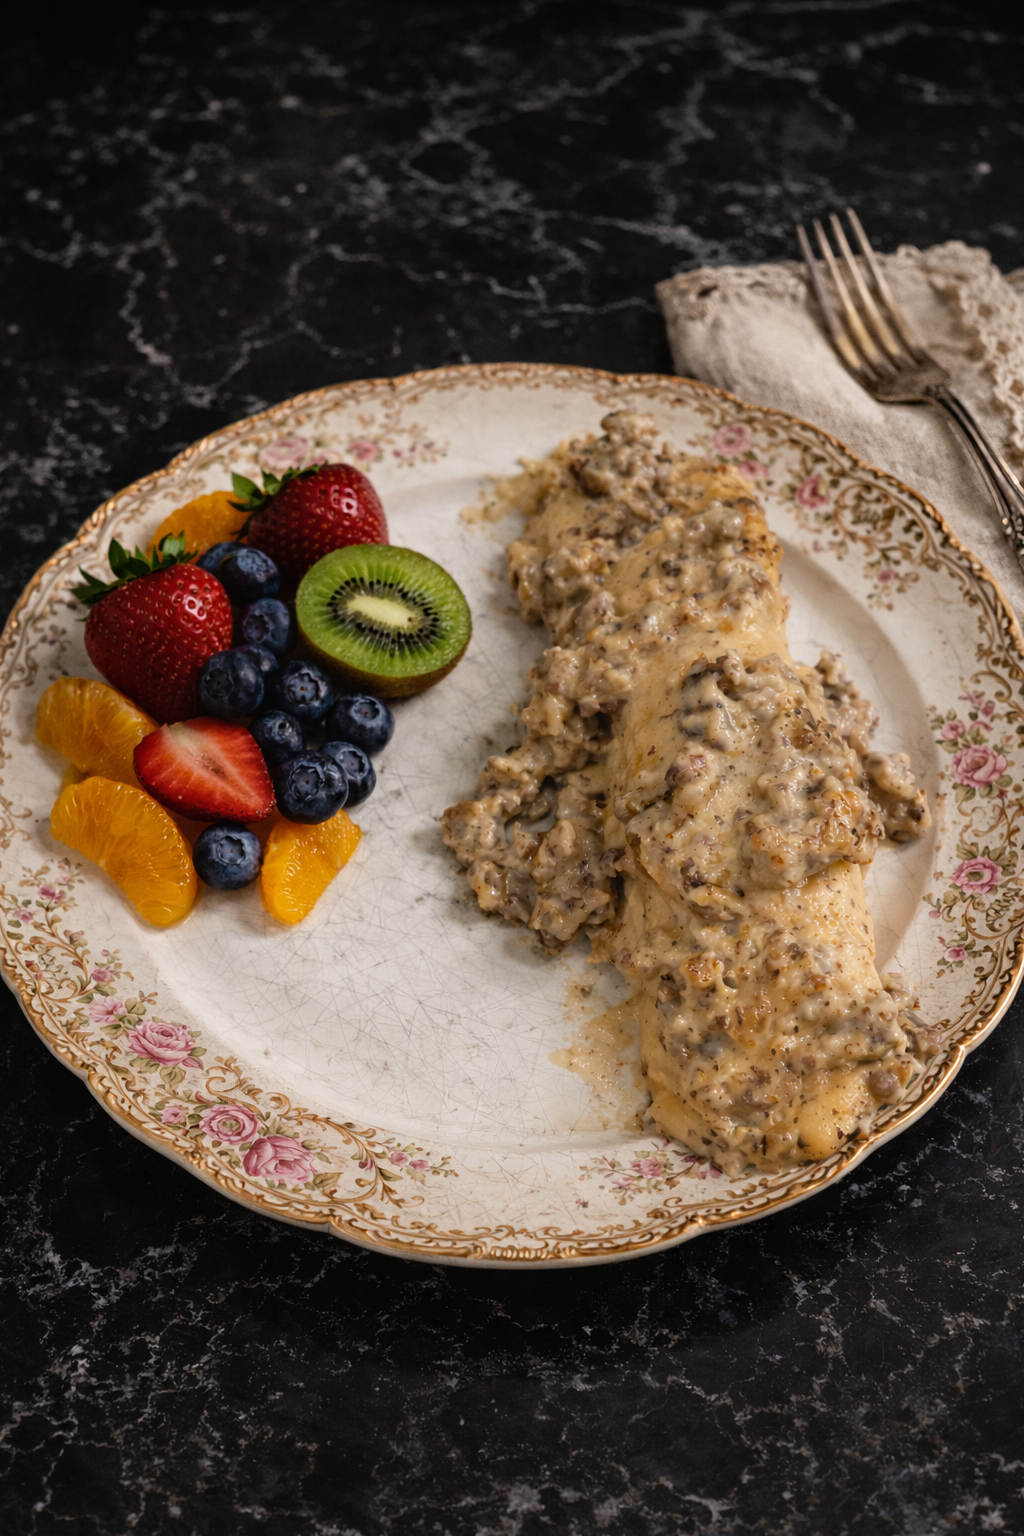
This dish fills the house with the best savory smell and makes you want to dig right in.

Why a Dutch Oven Works So Well
The Dutch oven lets you build flavor in layers:
- a good sear on the beef
- softened onions and celery
- a rich, savory broth that slowly tenderizes the roast
Once it goes into the oven, it’s hands-off. No babysitting. Just time doing its thing.
Ingredients
- 3–4 lb chuck roast
- Salt & pepper
- Olive oil, for searing (I also like avocado oil)
- 2 Tbsp butter
- 1 medium onion, chopped
- 1 rib celery, chopped
- 14.5 oz can beef broth
(I usually use 2 cups water + 2 teaspoons beef Better Than Bouillon) - ½ cup soy sauce
- 1 Tbsp Worcestershire sauce
- 1 tsp garlic powder or 1 clove garlic, minced
- 2 tsp A1 sauce
- Optional: canned mushrooms, drained
Instructions
1. Sear the roast
Preheat oven to 300°F.
Pat the chuck roast dry and season generously with salt and pepper. Heat a Dutch oven over medium-high heat with a little oil. Sear the roast for 3–4 minutes per side, until deeply browned. Remove and set aside.
2. Build the base
Lower the heat to medium. Melt the butter in the pot. Add the onion and celery and cook for 3–5 minutes, until softened. Add the garlic (or garlic powder) and stir briefly.
Pour in the beef broth, soy sauce, Worcestershire, and A1. Scrape up all the browned bits from the bottom of the pot—that’s where the flavor lives. Add mushrooms if using.
3. Slow cook
Return the roast to the pot. The liquid should come about halfway up the meat. Cover with the lid and transfer to the oven.
Cook for 3 to 3½ hours, until the beef is fork-tender and shreds easily.
4. Shred & soak
Remove the roast, shred it, then return the meat to the pot. Let it sit in the juices, uncovered, for 10–15 minutes so it can soak everything up. Taste and adjust seasoning if needed.

To Serve
Pile the beef onto soft sandwich buns. We always topped ours with sliced onion and yellow mustard.
Gram usually served these with some combination of:
- potato chips
- sliced tomatoes
- cottage cheese
- baked beans
Simple. Familiar. Perfect.
A Few Notes
- This recipe is even better the next day.
- If it finishes early, keep it covered in a low oven (250°F) until ready to serve.
- Don’t rush it—chuck roast needs time to become tender.
- This can also be cooked in a slow cooker:
- Low: 8–10 hours (preferred for tenderness)
- High: 4–5 hours
Still sear the meat first for best flavor.
- It can also be gently simmered on the stovetop for 3–4 hours, partially covered.
There’s something grounding about meals like this. They remind me that good food doesn’t need trends or perfection—just care, patience, and a little memory stirred in.
Roast Beef Sandwiches

A classic roast beef sandwich—slow cooked, simple, and always satisfying.
Ingredients
- 3-4 lb chuck roast
- Salt and Pepper
- Oil for searing (I like avocado oil)
- 2 Tbsp butter
- 1 medium onion, chopped
- 1-2 ribs celery, chopped
- 14.5 oz. beef broth (I use 2 c. water + 2 tsp beef Better than Boullion)
- 1/2 soy sauce
- 1 Tbsp Worcestershire sauce
- 1 tsp garlic powder or 1 clove garlic, minced
- 2 tsp A1 sauce
- Optional: 1 jar mushrooms, drained
Instructions
1. Sear the roast
Preheat oven to 300°F.
Pat the chuck roast dry and season generously with salt and pepper. Heat a Dutch oven over medium-high heat with a little oil. Sear the roast for 3–4 minutes per side, until deeply browned. Remove and set aside.
2. Build the base
Lower the heat to medium. Melt the butter in the pot. Add the onion and celery and cook for 3–5 minutes, until softened. Add the garlic (or garlic powder) and stir briefly.
Pour in the beef broth, soy sauce, Worcestershire, and A1. Scrape up all the browned bits from the bottom of the pot—that’s where the flavor lives. Add mushrooms if using.
3. Slow cook
Return the roast to the pot. The liquid should come about halfway up the meat. Cover with the lid and transfer to the oven.
Cook for 3 to 3½ hours, until the beef is fork-tender and shreds easily.
4. Shred & soak
Remove the roast, shred it, then return the meat to the pot. Let it sit in the juices, uncovered, for 10–15 minutes so it can soak everything up. Taste and adjust seasoning if needed.
Notes
- This recipe is even better the next day!
- If it finishes early, just keep it covered in a low oven (250°F) until ready to serve.
- Don't rush it - chuck roast needs time to become tender.
- This can also be cooked in a slow cooker. Low: 8-10 hrs (preferred) High: 4-5 hrs
- It can be gently simmered on the stovetop for 3-4 hours, partially covered.